
Lesson 2 of Module 1 from the CodeWithChris Design Course is to recreate a design using just the shapes elements in SwiftUI.
I think I got pretty close! I did have to look up what was possible with the RoundedRectangle() but, after that, it was all just about playing around with Xcode and modifiers.
ZStack {
RoundedRectangle(cornerRadius: 20)
.stroke(.blue, lineWidth: 2)
.frame(width: 200.0, height: 200.0)
Circle()
.stroke(.black, lineWidth: 1)
.frame(width: 190.0)
Ellipse()
.stroke(.gray, style:StrokeStyle(lineWidth: 2, dash: [5,5]) )
.frame(width: 190, height:100)
Ellipse()
.stroke(.gray, style:StrokeStyle(lineWidth: 2, dash: [5,5]) )
.frame(width: 100, height:190)
ZStack {
Circle()
.foregroundColor(.red)
.frame(width: 80.0)
Circle()
.foregroundColor(.orange)
.frame(width: 70.0)
Circle()
.foregroundColor(.yellow)
.frame(width: 50.0)
Circle()
.foregroundColor(.white)
.frame(width: 30.0)
}
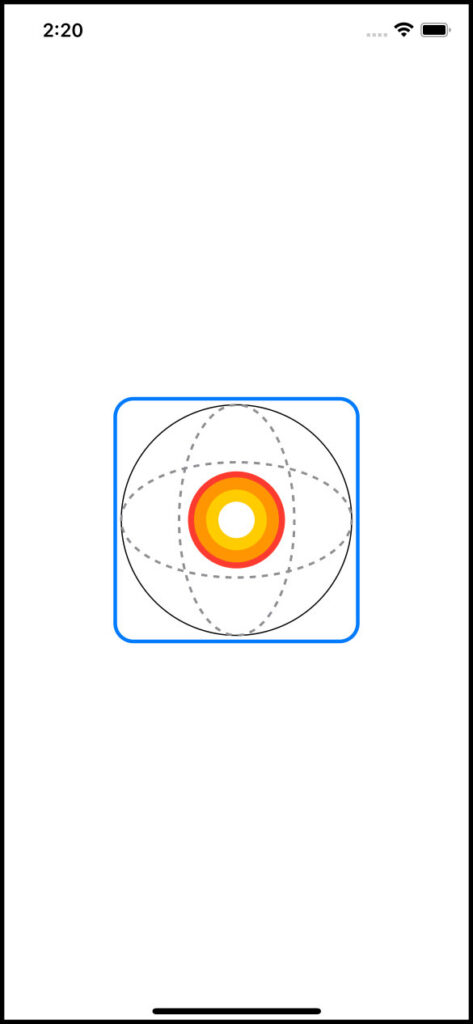
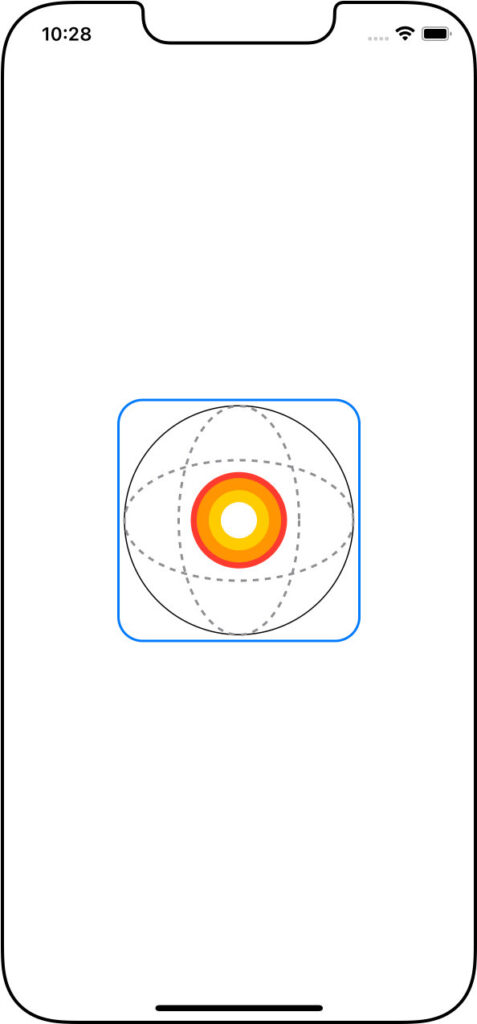
}We have a ZStack so that we can layer all elements on top of each other, and it’s automatically centred so we don’t have to specify its position.
Beginning with a RoundedRectangle() with a blue outline (.stroke), we have a Circle(), then an Ellipse() as wide as the circle, and another Ellipse() as high as the circle.
Then we use another ZStack to layer the small white circle on top of the yellow circle, on top of the orange circle, all on top of the red circle.
It’s as much about visualising what elements lay on top of other elements as it is about deciding how each of those elements are aligned.


