As reference for the future, the following is a list of screenshots showing how to set up a new iOS project in Google’s Cloud Firestore.
Create Xcode Project
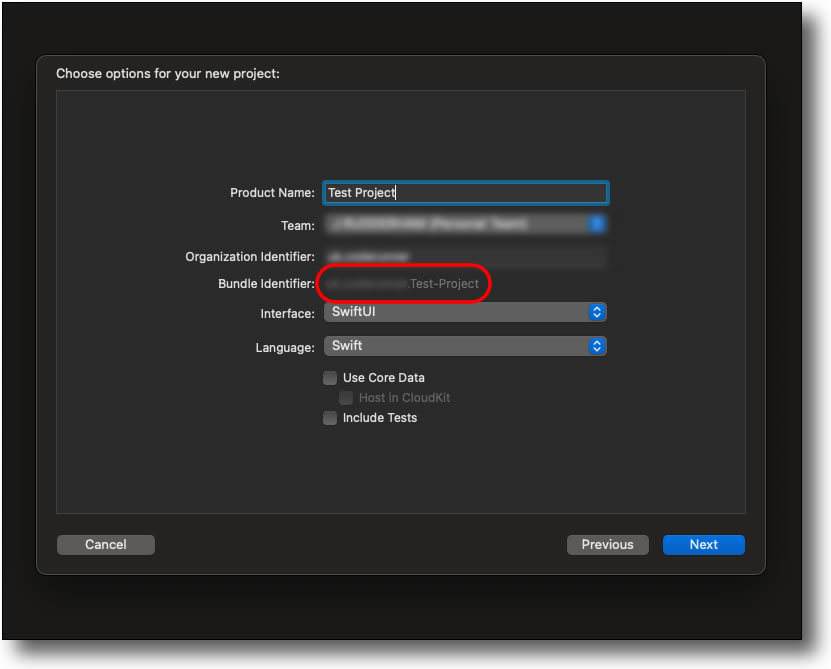
Create a new Xcode project in the usual way, and take note of the ‘Bundle Identifier’ for use later:

Close Xcode once the project has been saved.
Install CocoaPod
- With CocoPods already installed on your Mac, open a Terminal window [ Go > Utilities > Terminal ].
- Navigate to the folder in which your Xcode project is saved (the folder with the .xcodeproj file in it).
- Tip:
cdto ‘Change Directory’. - Tip:
lsto ‘List’ directory.
- Tip:
- Run command
pod init - Locate your App folder in Finder, and open
Podfilein TextEdit (or similar). - Add
pod 'Firebase/Firestore'betweentargetandend, - Save & Close
Podfile, - Back in Mac Terminal, run
pod install, and await completion of installation. - Open the Xcode project using the .xcodeworkspace file.
Note, the above steps take care of the Add Firebase SDK step below.
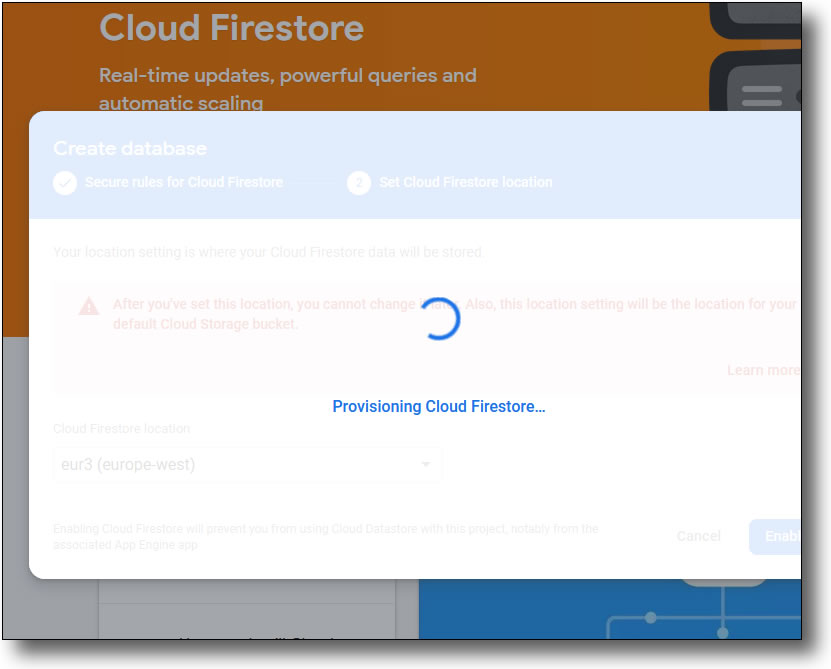
Set up Google Cloud Firestore
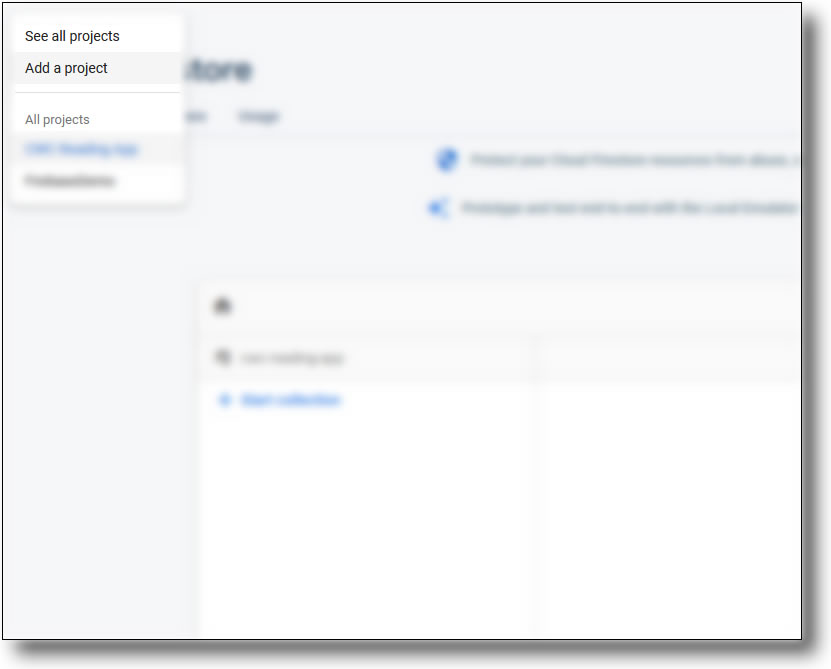
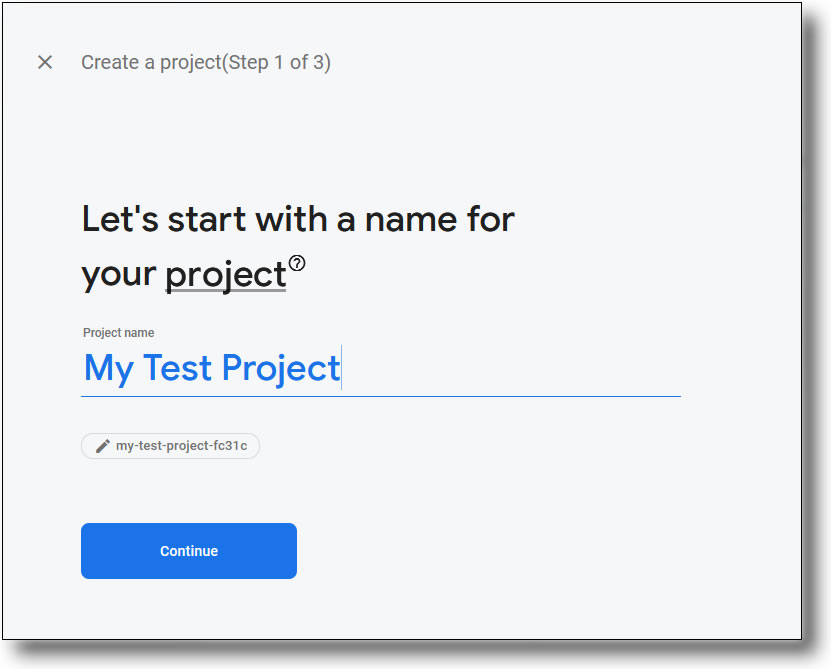
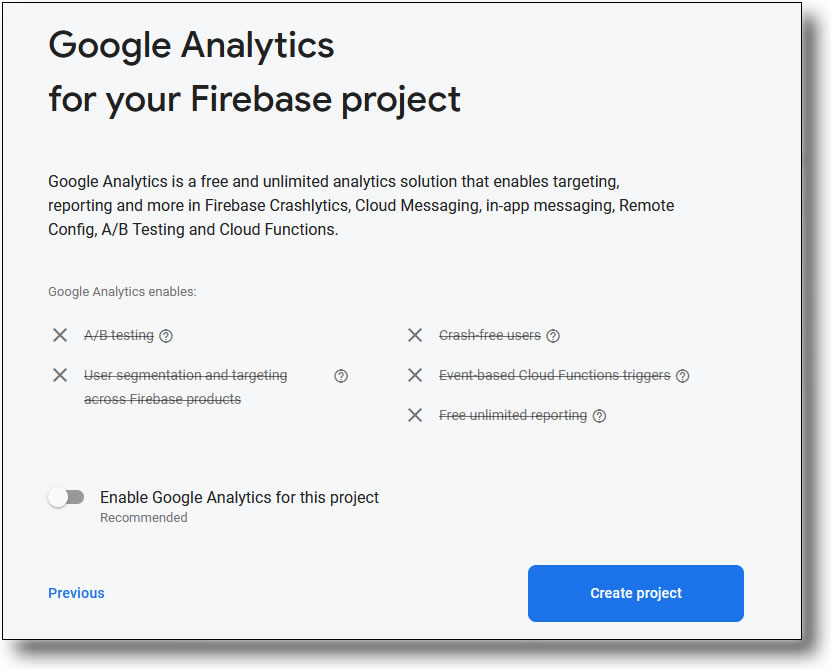
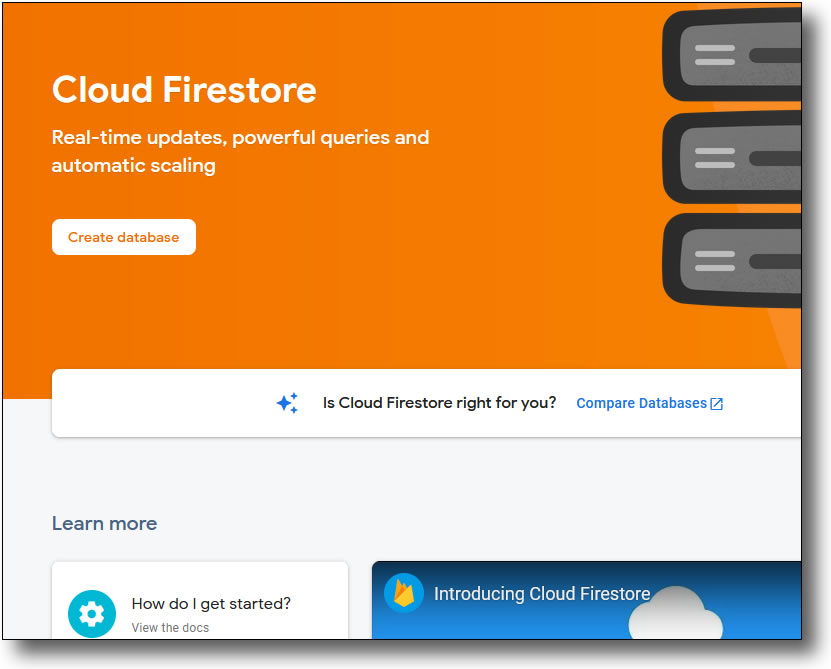
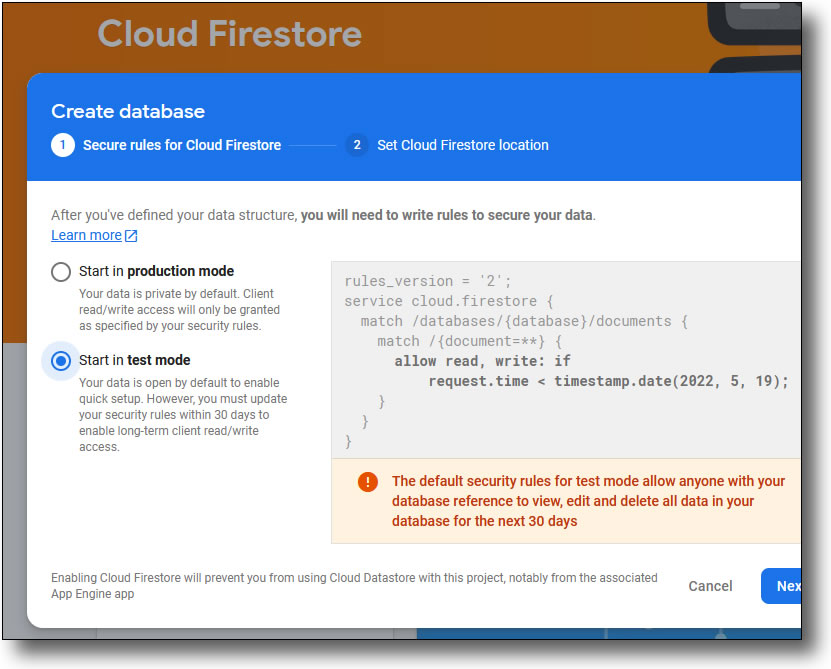
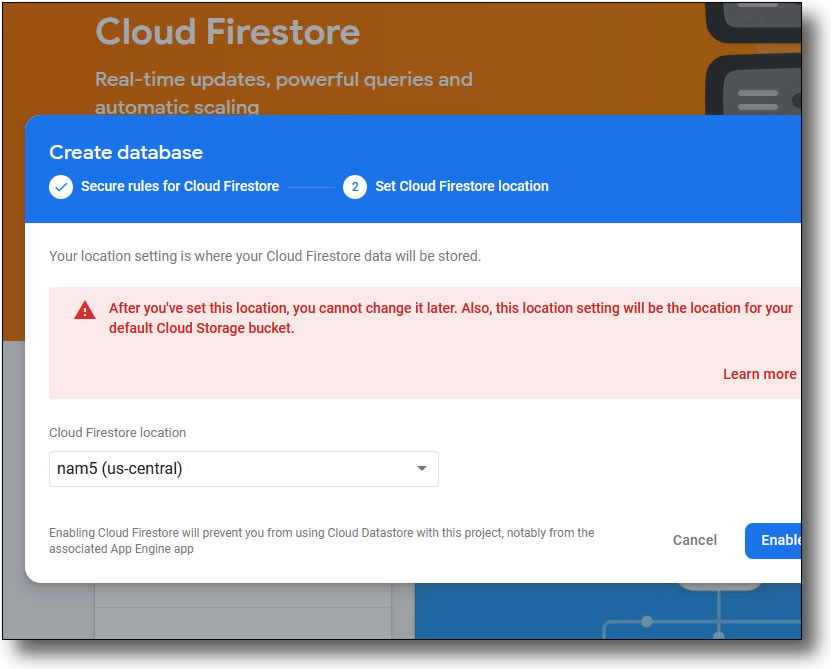
Log in to the Firestore Database section of the Cloud Firestore online console, and follow the steps below to create a new project for the new App:


Initialise Xcode Project
To use Firebase in the Xcode Project, the following code should be added to the main Xcode app file:
import SwiftUI
import Firebase

@main
struct MyFirebaseApp: App {
    var body: some Scene {
        init() {
            FirebaseApp.configure()
        }
    }
}
Okay, we should now be good-to-go!