Okay, a new day and a new module.
I had a choice to go with the CodeWithChris Design Course, or the Database Course, now that I’ve completed the iOS Foundations course. I have a really keen interest in databases as I’ve used them a lot in the past with web programming (mostly MySQL / MariaDB with PHP), so I was inclined to learn that way.
However, the creative side of me won out and I’ve chosen to do the Design Course first. Not only am I intrigued by design-by-code (something I didn’t get far with on my PHP journey), but I feel that the Database Course might be a bit on the heavy side and I think my head needs a bit of a break before I embark on that.
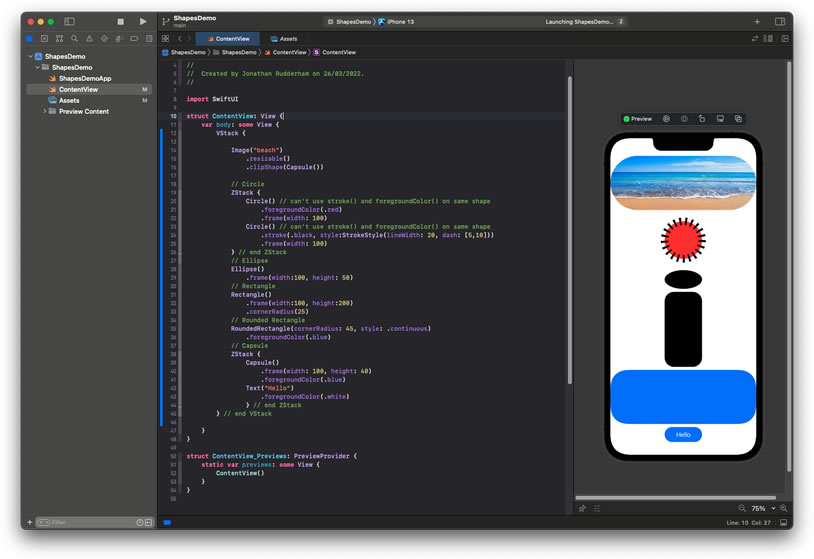
Lesson 1 of the Design Course is a short introduction, before moving on to Lesson 2 in which Chris introduces us to the basic shapes available in SwiftUI code.
VStack {
Image("beach")
.resizable()
.clipShape(Capsule())
ZStack {
Circle()
.foregroundColor(.red)
.frame(width: 100)
Circle()
.stroke(.black, style:StrokeStyle(lineWidth: 20, dash: [5,10]))
.frame(width: 100)
}
Ellipse()
.frame(width:100, height: 50)
Rectangle()
.frame(width:100, height:200)
.cornerRadius(25)
RoundedRectangle(cornerRadius: 45, style: .continuous)
.foregroundColor(.blue)
ZStack {
Capsule()
.frame(width: 100, height: 40)
.foregroundColor(.blue)
Text("Hello")
.foregroundColor(.white)
}
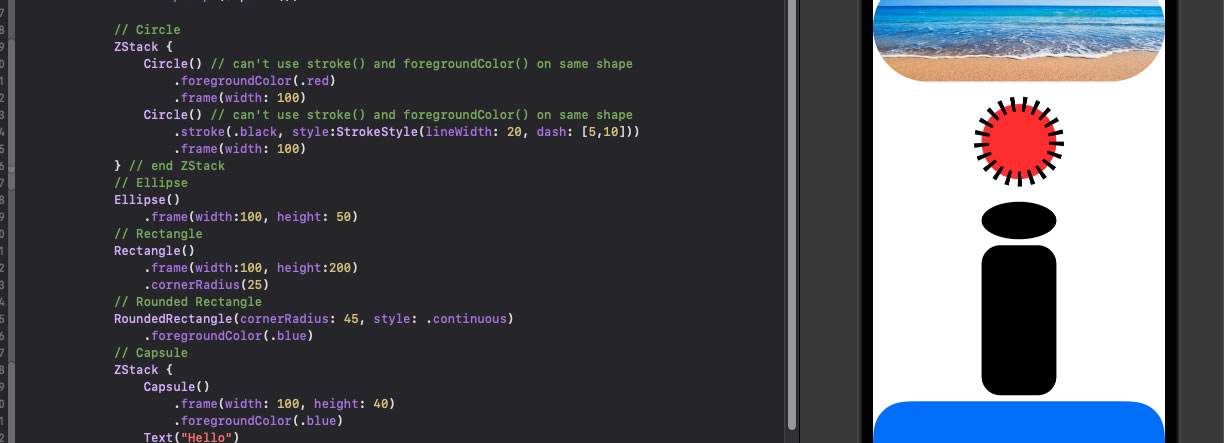
}One interesting point to remember is that a shape apparently can’t have both a fill (.foregroundColor) and an outline (.stroke) because you won’t see the .stroke. The solution, as shown, is to have two of the same shape in a ZStack with the with the outlined shape on top of the filled shape.
There’s also an interesting shorthand for the Rectangle() with rounded corners, and a Capsule() shape which would prove handy for creating visually-appealing buttons.
This is a good start, to get an understanding of what shapes are available. The “challenge” for this lesson is to create quite a complicated design using just the shapes we’ve seen here. That will be tomorrow’s task. Looks like it might be fun.


