
Lesson 4 from Module 2 of the CodeWithChris Design Course takes us into the world of the Grid or, more specifically, the Lazy Grid.
These come in two varieties – the LazyVGrid() and the LazyHGrid(). The “lazy” part of the element simply means that, where the content falls “off-screen”, it won’t be displayed or have memory allocated to it until it scrolls “on-screen”.
We’ve encountered “Lazy” before back when the iOS Foundations course covered the LazyVStack, and the principle concept remains the same.
A “grid”, however, is made up of columns and rows. The LazyVGrid() organises contend into columns whilst the LazyHGrid() does the same for rows.
The typical syntax would be something like this:
var body: some View {
let myCols = [
GridItem(.fixed(100), spacing: 5, alignment: .center),
GridItem(.fixed(100), spacing: 5, alignment: .center),
GridItem(.fixed(100), spacing: 5, alignment: .center)
]
LazyVGrid(
columns: myCols,
content: {
Text("Placeholder 1") // first column, first row
Text("Placeholder 2") // second column, second row
Text("Placeholder 3") // third column, third
Text("Placeholder 4") // first column, second row
ForEach(0..<5) { index in
Text("Placeholder \(index + 5)")
.foregroundColor(Color.blue)
}
}
)
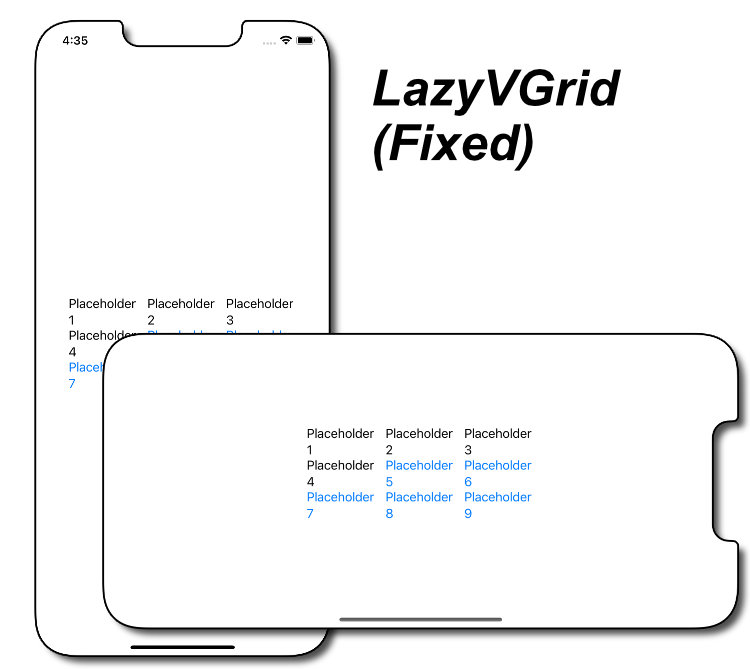
}Here, myCols contains an array of how we want the columns to be arranged and this is assigned to the columns: parameter in the LazyVGrid(). Each element we specify in the content: parameter is then placed in a cell in the grid.
The example shown has three GridItem elements in the array, so there are three columns. The 4th cell will therefore be shuffled down to the next row. We’ll end up with a 3×3 grid using the above code.
To make things easier, we can redefine myCols using a repeating array, thus:
let myCols = Array(
    repeating:
        GridItem(
            .fixed(100),
            spacing: 5,
            alignment: .center
        ),
    count: 3
)
By just altering the count: parameter, we can change the number of columns to be displayed.
The GridItem() parameter can be either .fixed (as shown above), .flexible(), or .adaptive.
let myCols = Array(
    repeating:
        GridItem(
            .flexible(),
            spacing: 3,
            alignment: .center
        ),
    count: 3
)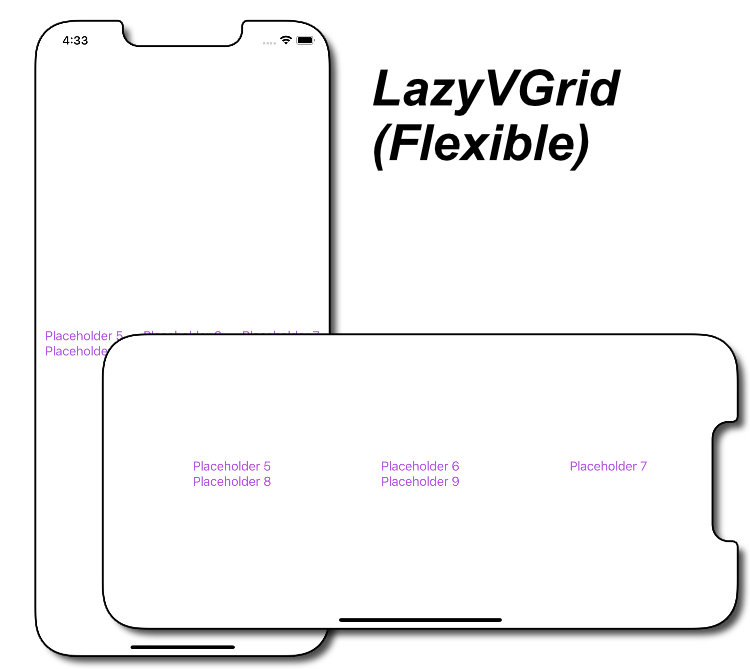
To better proportion the space available, use .flexible() rather than .fixed().
The .flexible() option fits the columns to the best available use of the space available. This would tend to be a better option for viewing the layout in both Landscape and Portrait orientations, and to better fit different screen sizes.
let myCols = Array(
    repeating:
        GridItem(
            .adaptive(minimum: 50),
            spacing: 3,
            alignment: .center
        ),
    count: 3
)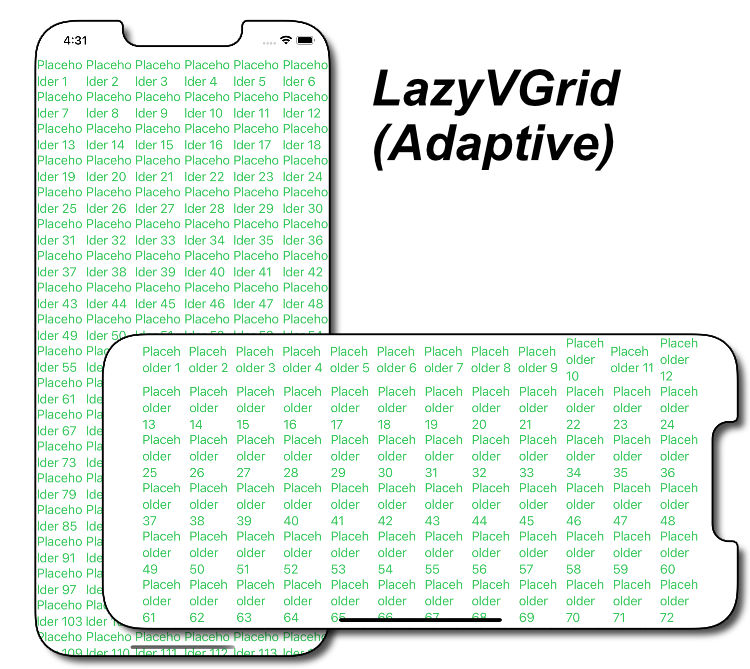
A minimum width is required for .adaptive(), with an optional maximum, and will increase the number of columns (effectively disregarding ‘count’, if there is sufficient horizontal space to add more columns. (The minimum and maximum widths are also available .flexible() but both are optional.)
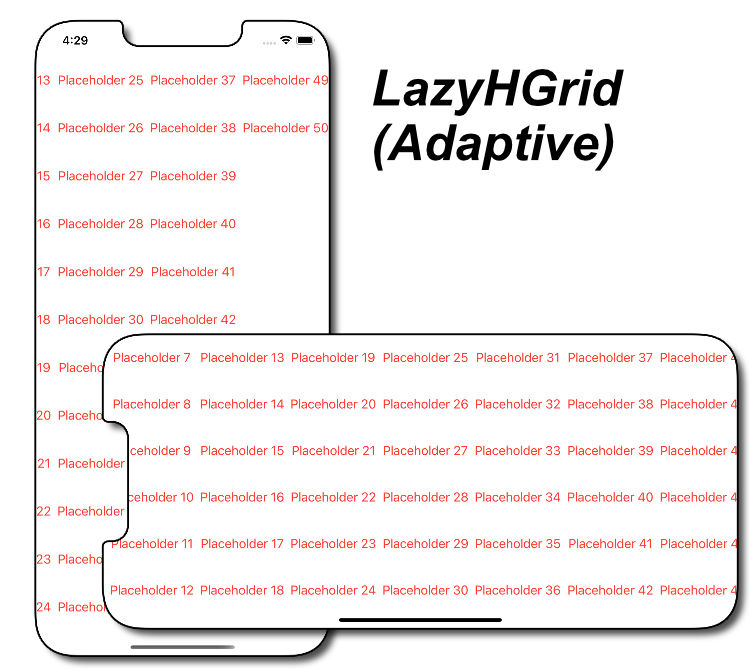
LazyHGrid() works in all respects similar to the LazyVGrid() except in the other direction. Where count:3 is 3 columns before the next row is started for a LazyVGrid(), so it would be 3 rows before the next column is started for a LazyHGrid(). Just note that the parameter is rows: in LazyHGrid() and columns: in LazyVGrid().
let myRows = Array(
    repeating:
        GridItem(
            .adaptive(minimum: 50),
            spacing: 3,
            alignment: .center
        ),
    count: 3
)
Another point of note is that LazyVGrid() and LazyHGrid() do not automatically scroll in the event of the content going off-screen. To achieve this, we’d wrap them in a ScrollView(), re:
ScrollView (showsIndicators: false) {
    LazyVGrid (
        columns: myCols,
        ...
    )
}
ScrollView (.horizontal, showsIndicators: false){
LazyHGrid (
rows: myRows,
...
)
}In each case, if we don’t require the scroll indicator showing at the edge of the screen, we can turn it off with the showIndicators: false parameter.


