
Module 1 of the Design Course from CodeWithChris concludes with a tutorial on including your own (custom) fonts into your app project. Given the complexity of shapes and gradients in previous lessons, I erronously thought that “Custom Fonts” meant creating your own typefaces within the app rather than including a font file. Just shows how much you can over-think things.

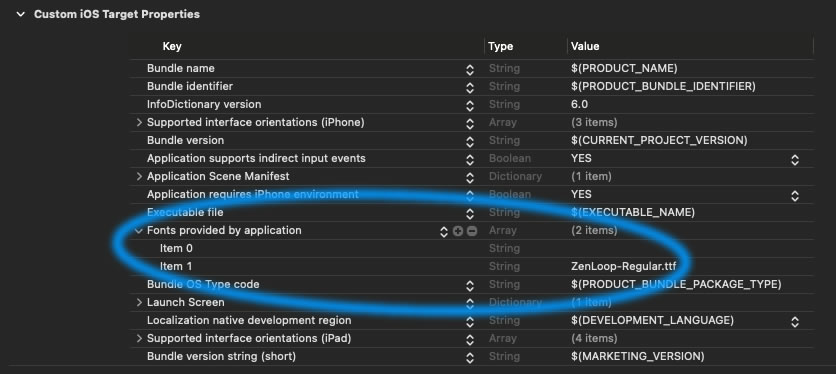
After dragging our newly dowloaded font (in this instance from fonts.google.com) into our project, we then have to add it to our project via, our old friend and nemesis, the Info.plist, remembering to use the font filename and not the actual font name.
Once attached to the project, we can then call up the font in the app – remembering now to use the font name, which may not be just the filename without the extension – which can be done fairly simply, thus:
var body: some View {
    Text("Hello, world!")
        .font(.custom("ZenLoop-Regular", size: 32))
    }
The biggest challenge would seem to be figuring out what the actual specific font name is so that it can be called up in the project. Chris provides us with a handy piece of code that we can use to print a list of all available fonts in the console. It’s a bit of a roundabout way of doing things, but we probably shouldn’t be using too many different fonts in our apps anyway – it would get pretty messy pretty quickly.
And so ends the Module 1 of the Design Course from CodeWithChris. The next module takes us into SwiftUI Components and Layouts.


